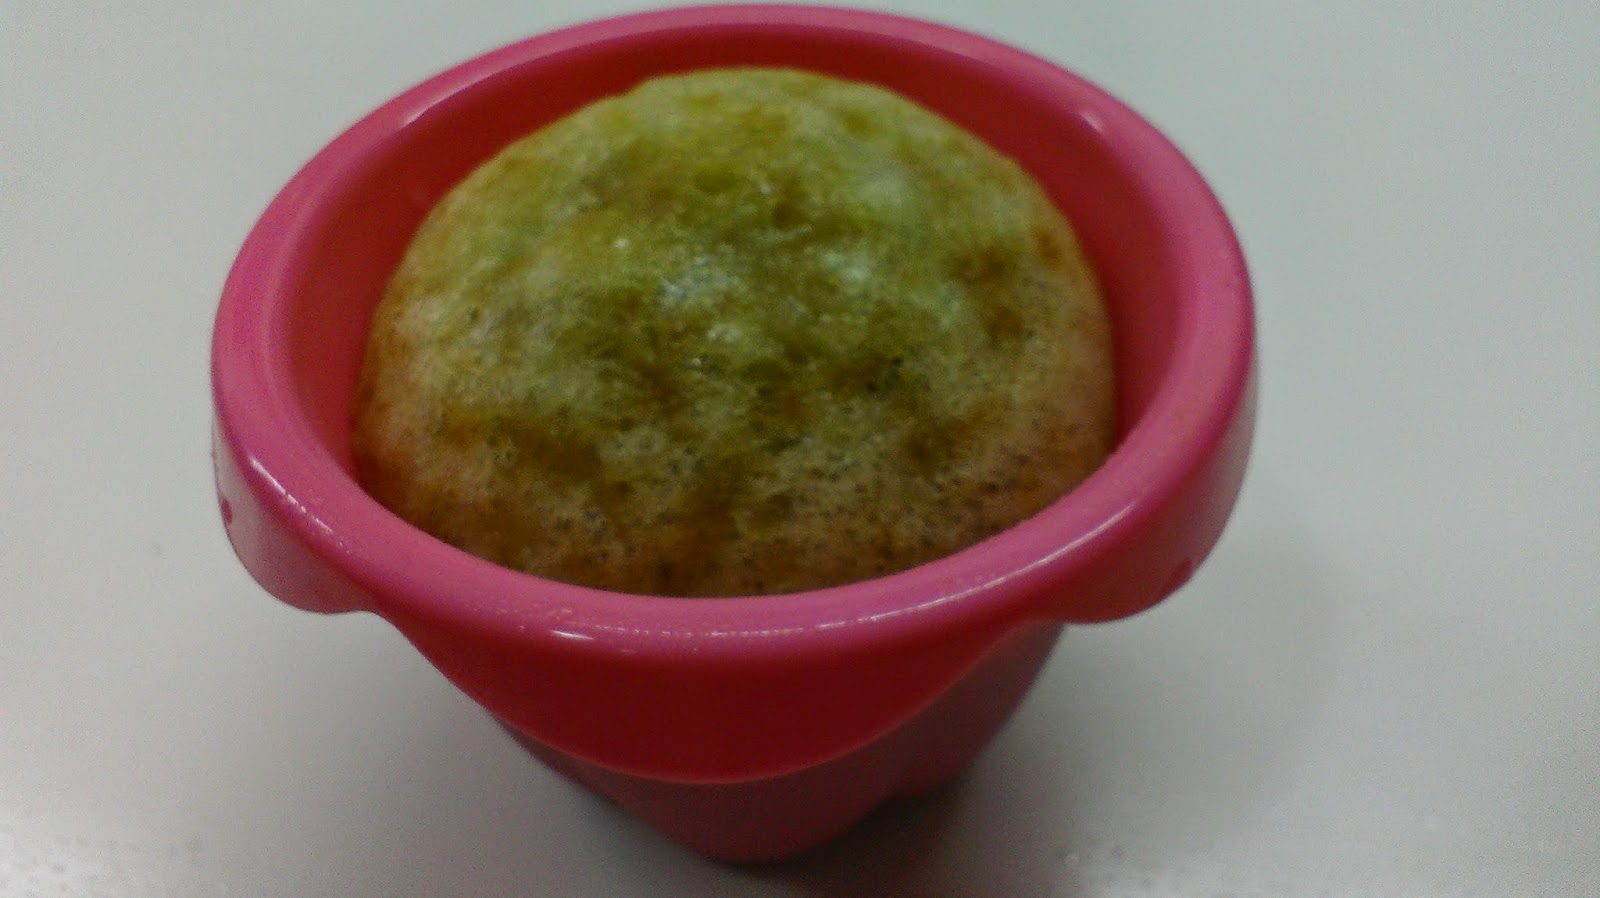
When a friend saw the above photograph, the first comment he made was "Why is your steamed egg cake not "smiling"?". You see, the traditional steamed egg cake that is sold in the commercial stores are typically those where the top is spread open (hence the description "smiling"). Actually, this is the same thing. The only difference is how much of the liner you fill with the batter.
If you were to google "steamed egg cake" (or "ji dan gao" in Chinese), you will see a myriad of recipes. Depending on the ingredients used, the texture of the end product can vary.
The secret to cotton-soft steamed egg cake is in the beating. If you were to use a recipe that does not require a raising agent (such as baking powder), then it is all the more important that you need to beat the eggs long enough so that you get a cake that is light and soft. Ideally, therefore, you should use an electric mixer to whisk the eggs.
When I baked this steamed egg cake, I was in a hurry. Da had just brought the Chickadees downstairs for a short pre-dinner stroll. As such, I used a hand whisk instead of an electric whisk. Although I was happy with the texture of the final product, I intend to try this recipe again using an electric whisk to achieve an even softer texture.
INGREDIENTS
275g cake flour
3 tsp baking powder
3 eggs
200g castor sugar
150ml low fat milk
METHOD
1. Sift the cake flour and baking powder in a bow. Set aside.
2. Whisk the eggs till frothy. Add the sugar a little by little, to ensure that it is well-incorporated. Continue beating until the batter becomes pale, thick and creamy.
3. Add the milk and beat well.
4. Heat up the steamer until the water is boiling.
5. Fold in the sifted flour. When you no longer see streaks of flour, stop.
6. Fill cupcake/muffin liners with the batter.
7. Steam at high heat for 10 to 15 minutes.
8. Remove and cool on the rack before serving.
TIPS
1. If you would like the steamed egg cake to "smile", then you should fill the liners until almost full.
2. Do not open the lid of the steamer when steaming.


